Understanding Tire Repair: When and How to Do It SafelyTires are among the most critical components of any vehicle, ensuring safety, comfort, and performance on the road. However, they are susceptible to damage, and knowing when and how to repair a tire can save you both time and money while keeping you safe. In this guide, we'll walk you through the essentials of tire repair and help you understand when a tire should be repaired or replaced.
When Should You Repair a Tire?Before you attempt to repair a tire, it's crucial to assess whether it is indeed repairable. Safety is paramount, and not all tire damage can be safely fixed. Here are some guidelines to help you decide:
1. Location of Damage: Tires can only be repaired in the tread area—the thick, grooved part that contacts the road. If the damage is in the sidewall or near the edge of the tread, the tire must be replaced. Repairs in these areas cannot guarantee safety.
2. Size of Damage: The puncture or cut should be no larger than 1/4 inch (6 mm) in diameter. Larger damages, or multiple punctures close to one another, compromise the tire’s structure and require replacement.
3. Tread Depth: Check the remaining tread depth. The legal minimum tread depth in most places is 2/32 inch. If your tire’s tread is below this level, it's time for a new tire, not a repair.
4. Overall Condition: Examine the tire for signs of severe wear, aging (like sidewall cracking), or internal damage, which could be revealed by a bulge or blister in the sidewall. These factors usually indicate that a replacement is necessary.
How to Repair a TireIf your tire meets the criteria for repair, here’s how you can fix it safely:
Step 1: Prepare the TireFirst, remove the tire from the vehicle and fully deflate it. This step allows you to perform a thorough internal and external examination to ensure there is no additional hidden damage.
Step 2: Locate and Assess the DamageIdentify the puncture site. Sometimes, this can be done by visually inspecting the tire or by inflating the tire and listening or feeling for escaping air. Remove any debris or objects embedded in the tire.
Step 3: Clean and Buff the AreaUsing a rasp tool from your tire repair kit, clean out the puncture to prepare it for the patch. This process involves slightly enlarging the hole to fit the repair plug.
Step 4: Apply the Patch and SealantApply a rubber cement or sealant to the prepared area. This acts as an adhesive for the patch. Thread the plug through the insertion tool, inserting it into the hole until it is seated securely. The plug should fill the puncture completely.
Step 5: Trim and Seal the PlugTrim any excess plug material that sticks out from the tread. Reinflate the tire to the recommended pressure, and check for leaks using soapy water. No bubbles should form around the repair.
Step 6: Reinstall the TireOnce the repair is secure and checked for leaks, the tire can be reinstalled on your vehicle. It's a good idea to have the tire re-balanced to ensure even wear.
Post-Repair ConsiderationsAfter a tire repair, it’s wise to monitor the tire closely for the first few days to ensure there is no loss of air pressure. If you notice any issues, consult a professional immediately. Additionally, keep in mind that a repair is generally a temporary solution. The integrity of the tire has been compromised, and while safe for use, it may not perform as well as an unblemished tire under all conditions.
ConclusionKnowing how to repair a tire is a valuable skill for any driver, but understanding when a tire should be repaired or replaced is even more crucial for maintaining road safety. Always err on the side of caution. If you're unsure about the condition of your tire after it has been damaged, seek advice from a professional. Keeping your tires in good shape is not just about maintenance—it's about ensuring the safety of everyone on the road. At Fixra we have you covered, with our huge range of
tyre repair kits.
 Oils, Fluids & Lubricants
 Engine Oil
 Cleaners & Degreasers
 Antifreeze & Coolant
 Screen Wash
 Brake & Clutch Fluid
 Hydraulic Fluids
 Power Steering Fluid
 Gearbox / Transmission Oils
 Lubricants & Fluids
 Grease
 Fuel & Oil Additives
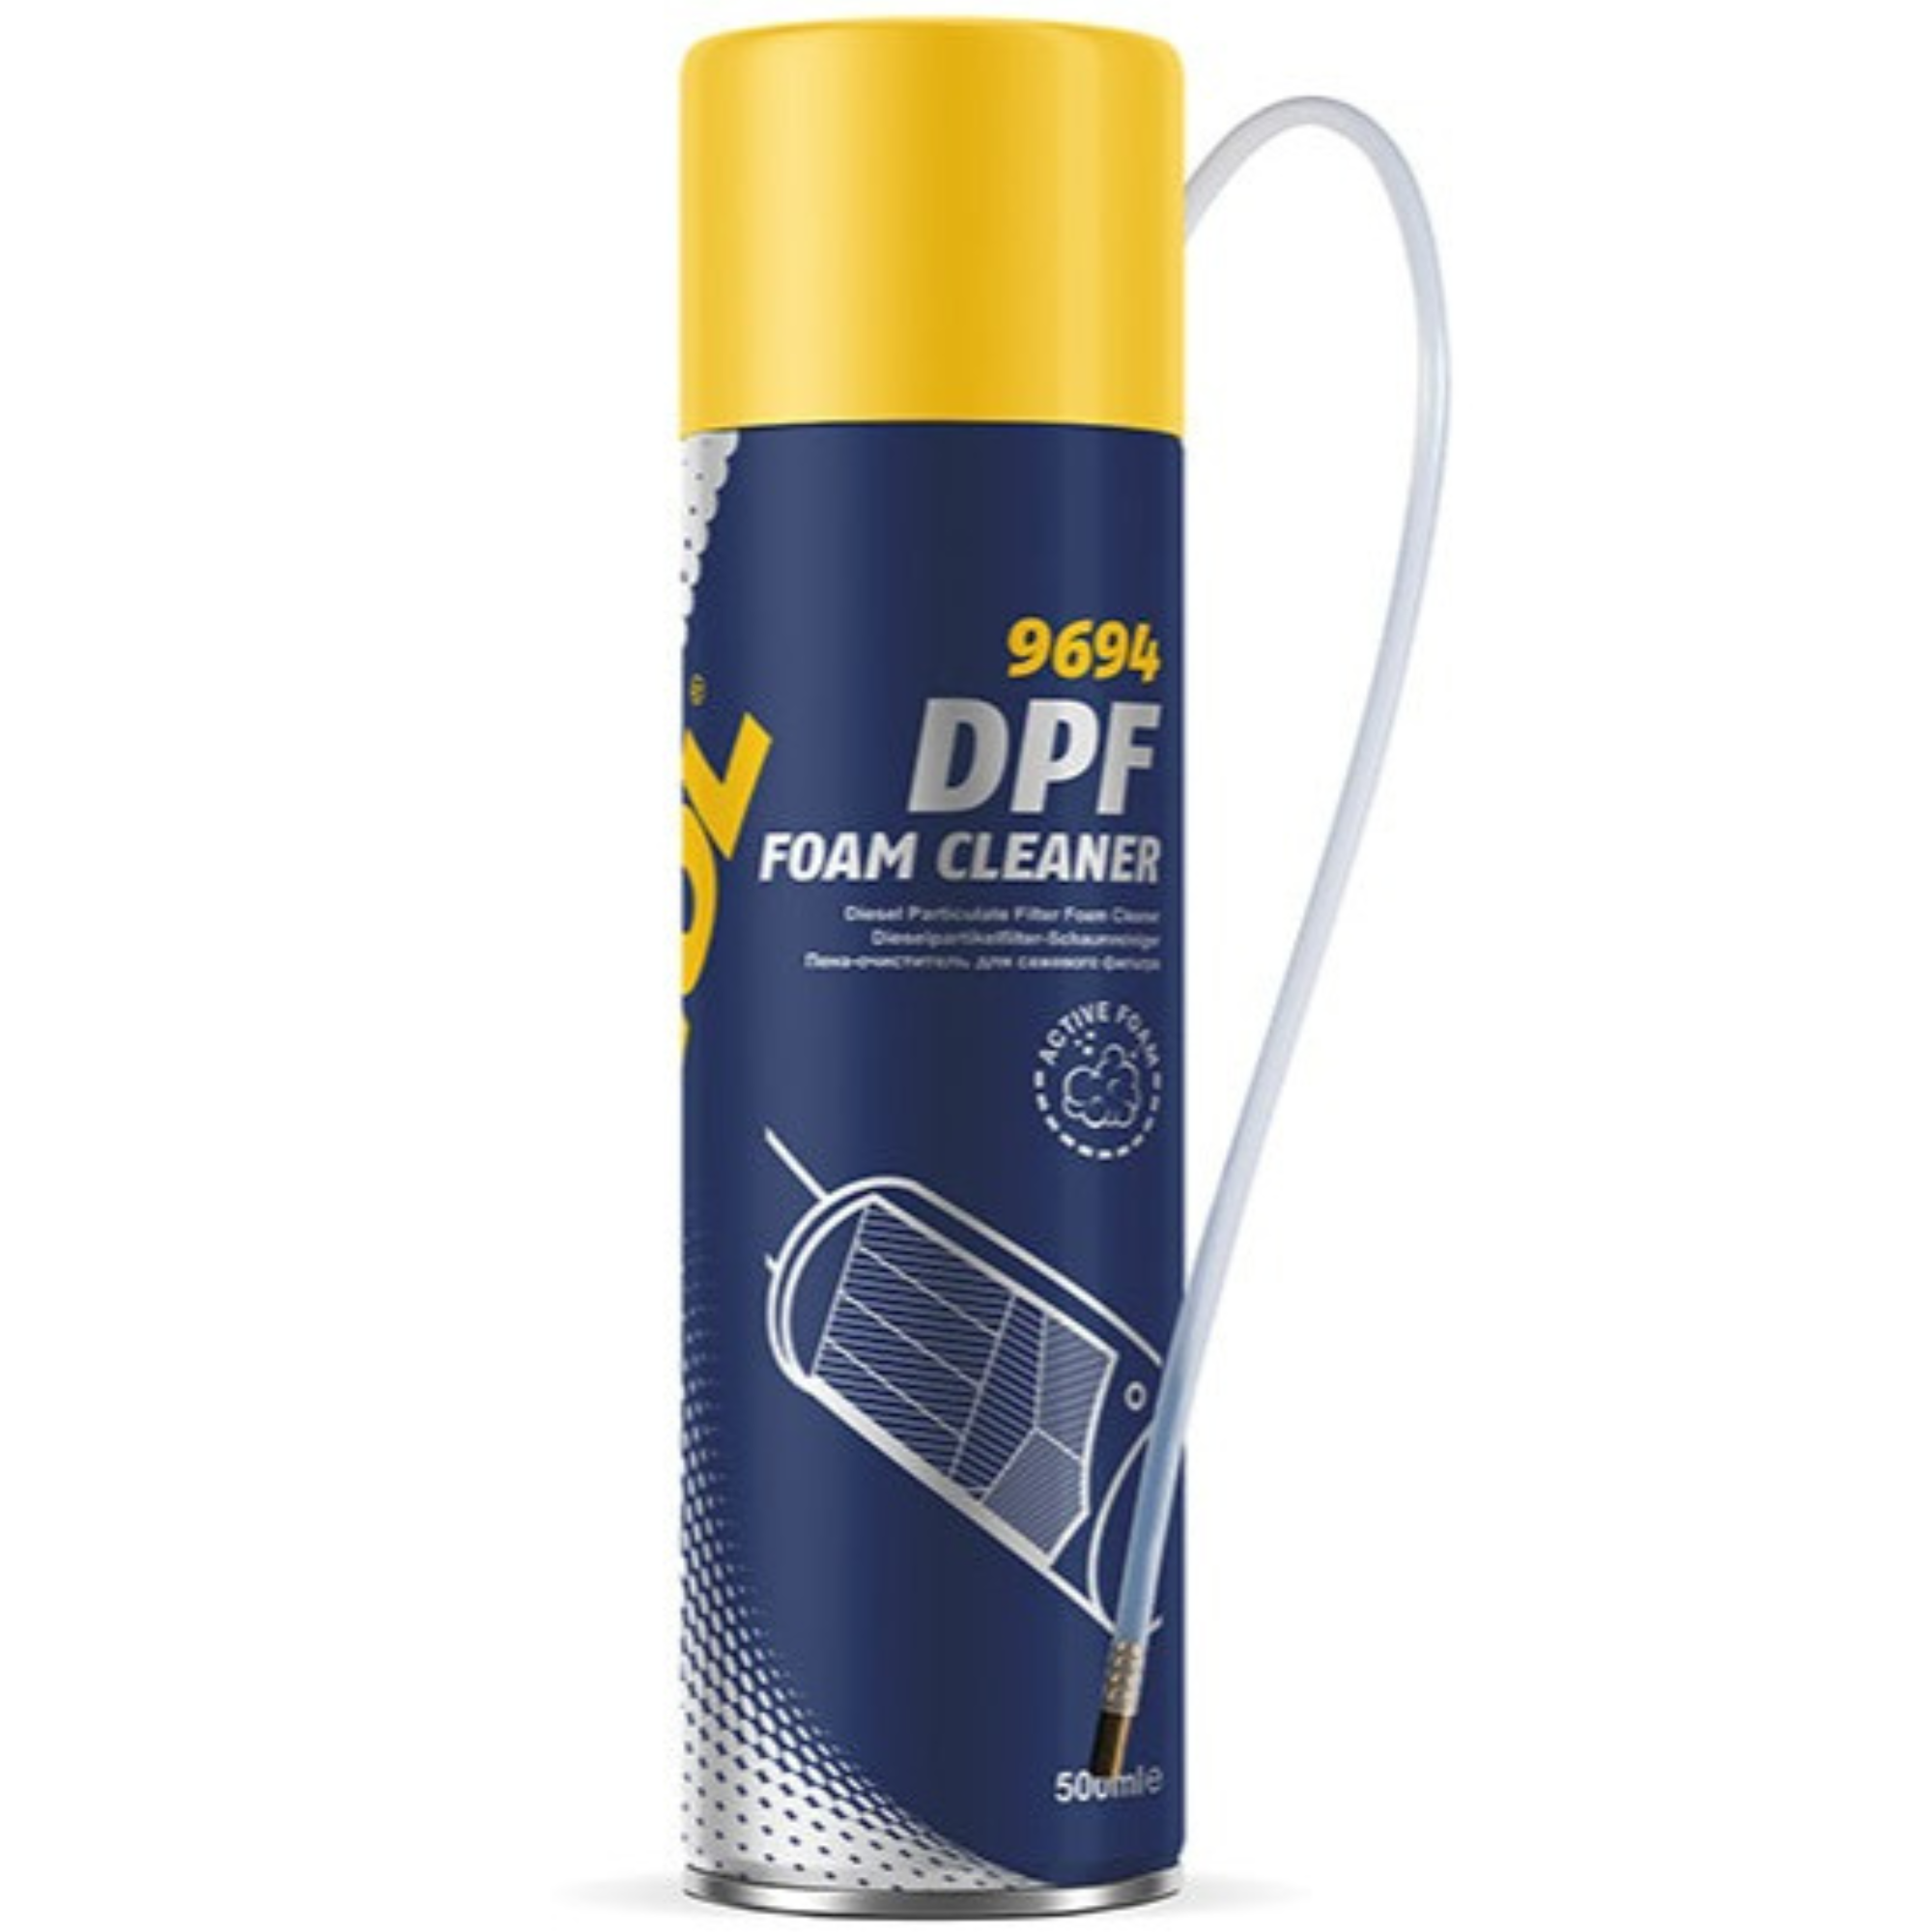
 DPF Cleaners
 Chainsaw Oil
 Car Accessories
 Interior Car Accessories
 Air Fresheners
 Car Mats
 Organisers & Storage
 Car Seat Covers & Protectors
 Sun Visor
 Exterior Car Accessories
 Breakdown & Emergency
 Travel Accessories
 Winter Driving Essentials
 Car Security
 EV Cables & Chargers
 Car Care & Cleaning
  Paints & Body Repair
 Maintenance
 Gasket Sealants
 Leak Repair
 Battery Maintenance
 Car Bulbs
 Tools
Tools Motorhomes
 Car Parts